MySQL was created by a Swedish company and is a widely used open-source relational database management system for use in web applications.
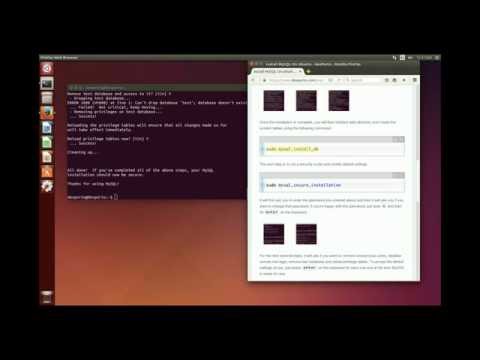
For those who prefer video here it is:
To start with the install, type the following in a terminal window
sudo apt-get install mysql-server
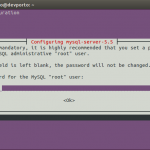
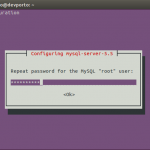
You will be asked to provide an administrative password for MySQL use and then it will ask you to confirm the password you just entered
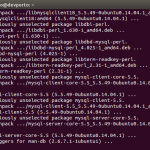
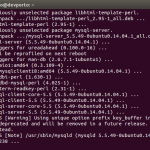
After you provide the password, the installation will start
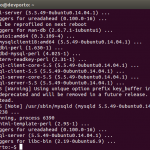
Once the installation is complete, you will then initialize data directory and create the system tables using the following command
sudo mysql_install_db
The next step is to run a security script and modify default settings
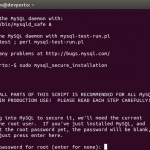
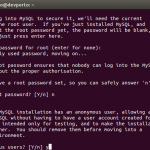
sudo mysql_secure_installation
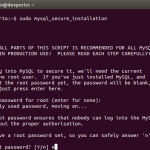
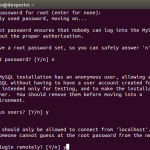
It will first ask you to enter the password you entered above and then it will ask you if you want to change that password. If you’re happy with the password, just type n and then hit enter on the keyboard.
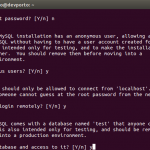
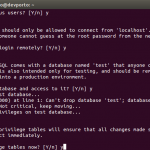
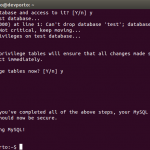
For the next several steps, it will ask if you want to: remove anonymous users, disallow remote root login, remove test database and reload privilege tables. To accept the default settings of yes, just press enter on the keyboard for each one and at the end, MySQL is ready for use.
